Video editing has changed a lot in the last few years. Mobile apps now offer tools that once belonged only to expensive desktop software. CapCut is one of the biggest names in this shift, and its keyframe motion tracking feature is a perfect example of why.
If you have ever watched a video where text sticks perfectly to a moving object, or where an emoji follows someone’s face across the screen, you have seen motion tracking in action. This guide breaks down exactly how it works in CapCut, why it matters, and how you can use it to create scroll-stopping content.
By the end of this article, you will understand keyframes, motion tracking, and how these two tools combine to give your videos a cinematic feel. Let’s get started.
What Is Keyframe Motion Tracking in CapCut?
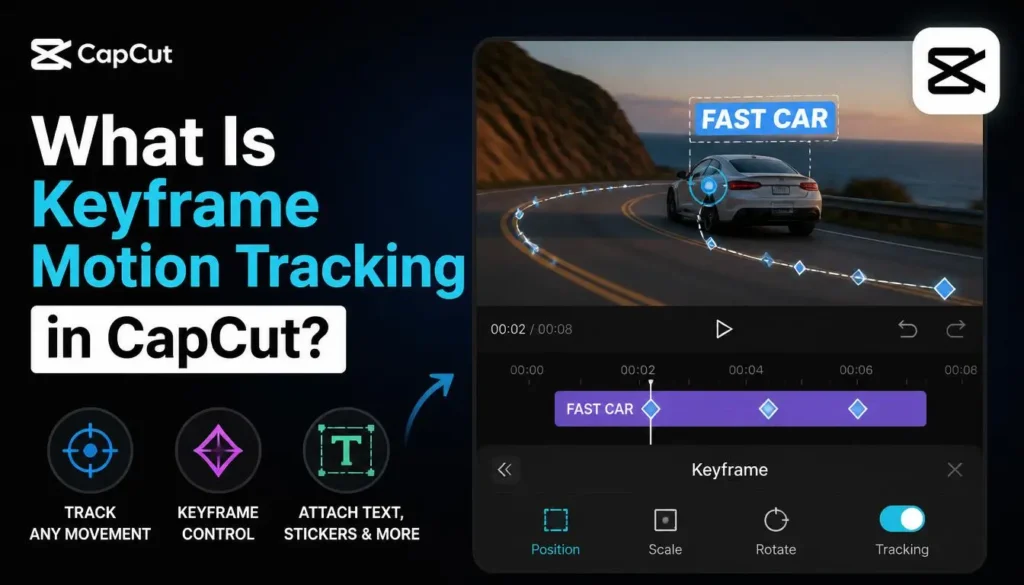
Keyframe motion tracking is a technique that allows an element in your video to follow a moving object automatically. This could be text, a sticker, a blur effect, or even another clip.
In simple terms, CapCut analyzes the pixels in your footage. It then locks an overlay onto a specific point and moves that overlay frame by frame. The result looks smooth and natural, almost like the effect was filmed that way originally.
This feature is widely used by content creators, marketers, and everyday users. It is especially popular in reaction videos, product reviews, and dance content on TikTok and Instagram Reels.
Why Keyframes Matter in Video Editing
Keyframes are markers that tell the software what should happen at a specific point in time. Two or more keyframes are needed to create movement, because the software calculates everything between them.
Without keyframes, elements stay static. With them, your videos gain depth, motion, and professional polish. This small detail often separates amateur edits from high-quality content.
How to Use Keyframe Motion Tracking in CapCut (Step-by-Step)
Below is a simple breakdown that anyone can follow, even without prior editing experience.
Step 1: Import Your Video Clip
Open CapCut and start a new project. Import the video you want to edit from your gallery. Make sure the footage is clear and well-lit, since tracking works best with visible, high-contrast subjects.
Step 2: Add the Element You Want to Track
This can be text, a sticker, an image, or an effect. Place it on the timeline above your main video clip. Position it roughly where you want it to appear first.
Step 3: Enable Tracking
Tap on the element, then look for the Tracker option in the toolbar. Select the object or area you want to track by drawing a box around it. CapCut will then follow that area automatically through the rest of the clip.
Step 4: Adjust with Manual Keyframes
Sometimes automatic tracking is not perfect. In these cases, manually add keyframes by moving the playhead and adjusting the element’s position. Tap the keyframe icon at each point where a change is needed.
Step 5: Preview and Fine-Tune
Play back your edit to check the tracking accuracy. If the element drifts off target, add more keyframes at the problem area. Small adjustments here make a big difference in the final result.
Step 6: Export Your Video
Once you are satisfied, export the video in your preferred resolution. For social media, 1080p is usually the sweet spot between quality and file size.
Best Practices for Accurate Motion Tracking
Getting professional results takes more than just tapping a few buttons. A few habits can improve your tracking accuracy significantly.
Use Stable, Well-Lit Footage
Shaky or dark footage confuses the tracking algorithm. Stabilize your clips first if possible, and shoot in good lighting whenever you can.
Choose High-Contrast Tracking Points
Pick an object or point that stands out clearly from its background. This gives CapCut a strong reference to follow throughout the clip.
Break Long Clips Into Segments
For longer videos, tracking accuracy can drop over time. Splitting the clip into smaller sections and tracking each one separately often produces better results.
Combine Tracking with Manual Keyframes
Automatic tracking handles most of the work, but manual keyframes fix the small errors. This hybrid approach is used by most experienced editors.
Common Mistakes to Avoid
Many beginners run into the same issues when learning this feature. Here are the most frequent ones.
- Selecting too small a tracking area, which causes the tracker to lose the object.
- Ignoring lighting changes mid-clip, which throws off pixel recognition.
- Ignoring the timeline zoom, which makes keyframe placement imprecise.
- Skipping the preview step before exporting the final video.
Avoiding these mistakes saves time and prevents frustrating re-edits.
Creative Ways to Use Keyframe Motion Tracking
This feature is not just for basic text overlays. Creators use it in many creative ways across different niches.
Product reviewers use it to highlight specific features with arrows or circles that move with the product. Dance and fitness creators track body movement to add sparkle or glow effects. Meme creators track faces to add funny stickers or captions that follow expressions.
Marketers also use tracked text to point at call-to-action buttons or discount codes within promotional videos. The possibilities are nearly endless once you understand the basics.
Why This Feature Improves Engagement
Videos with tracked motion elements tend to hold viewer attention longer. Static overlays feel outdated compared to elements that move naturally with the footage.

Platforms like TikTok, YouTube Shorts, and Instagram Reels reward watch time. Better editing, including smart tracking, directly supports this metric and can improve overall reach.
Conclusion
Keyframe motion tracking in CapCut is a powerful tool that levels up any video project. It bridges the gap between amateur and professional editing without requiring expensive software or advanced skills.
Start simple, practice with short clips, and gradually experiment with manual keyframes for precision. Once mastered, this skill will noticeably improve the quality of your content and help it stand out on any platform.